
Top 6 Common Printing Mistakes and How to Avoid Them
The art of printing can be both exciting and challenging, with multiple factors to consider ensuring your final product meets or exceeds expectations. Inevitably, the path to print perfection can be littered with potential pitfalls and errors that may jeopardise the quality of your work. The good news? Many of these common printing mistakes can be avoided with a little knowledge and foresight, paving the way for successful results every time.
In this insightful guide, we'll reveal the top six printing mistakes that can obstruct your mission for impeccable print outputs, along with practical solutions to help you navigate around these errors and achieve impressive, professional results consistently.
1. Not Proofreading: The Importance of Meticulous Review
Among the most prevalent printing mistakes is overlooking the need for thorough proofreading. Misspellings, incorrect contact information, and poor grammar can tarnish your print materials' professionalism and credibility. To avoid these seemingly small yet impactful errors, implement the following measures:
Get a fresh pair of eyes: Enlist a friend or colleague to review your work, as they may spot mistakes you might have overlooked due to familiarity with the content. Use computer-aided tools: Employ spellcheck and grammar tools such as Grammarly for an additional layer of proofreading support. Read aloud: Reading your content aloud can help you identify any awkward phrasing or missing punctuation marks.
2. Improper Bleed Settings: Creating a Seamless Printed Appearance
Many overlook the bleed setting, which refers to the area beyond the finished product's edges. Printing typically goes right to the edge, so having the correct bleed settings in place eliminates the risk of a white border around your printed material due to slight misalignments in trimming. To ensure a seamless appearance, follow these guidelines:
Set up proper bleed margins: A standard bleed margin is usually 3mm. Adjust your document settings accordingly, maintaining appropriate proportions between the bleed area, trim line, and safety margin. Extend colour and images: Ensure your background colour and images extend into the bleed area to prevent any white borders after cutting. Maintain a safe zone: Keep essential visuals and text at least 3mm away from the trim line to prevent accidental loss during cutting.
3. Incorrect Image Resolution: Ensuring Optimal Print Clarity
Low-resolution images can result in blurry or pixelated prints, adversely affecting your print materials' overall appearance. For high-quality results, ensure your images adhere to the optimal resolution standards:
Focus on DPI (dots per inch): For professional-grade prints, images should have a resolution of 300 DPI or higher. Lower resolutions can result in subpar printing quality. Export images in the right format: Save your images as TIFF files for maximum quality. Alternatively, high-quality JPEG or PNG formats are also acceptable if saved at their highest resolution setting. Maintain the original aspect ratio: Preserve the original aspect ratio of your image when resizing to avoid distortion or stretching.
4. Inadequate Colour Management: Achieving Precise Colour Reproduction
Printers utilise the CMYK (Cyan, Magenta, Yellow, and Key/Black) colour model for printing, whereas most digital designs utilise the RGB (Red, Green, Blue) colour model. This discrepancy can lead to colour deviations between your design and the final printed product. To ensure accurate colour reproduction, adopt these best practices:
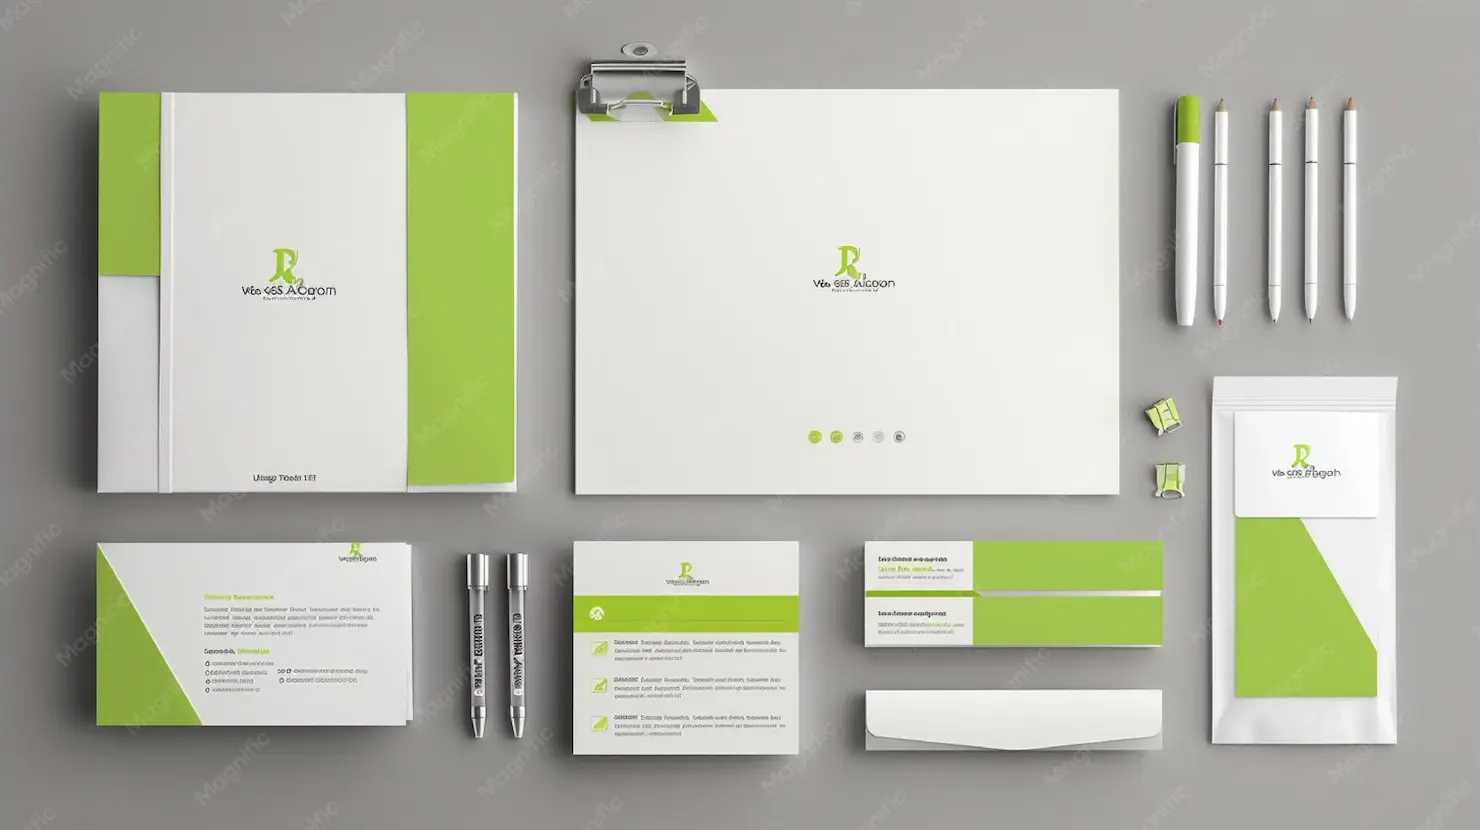
Convert to the CMYK colour mode: Use design software such as Adobe Illustrator or InDesign to convert your design to the CMYK colour mode before printing, ensuring accurate colour representation. Print test samples: Request a physical proof or print a test sample before producing large quantities to assess the accuracy of colours and make any necessary adjustments. Calibrate your monitor: Use monitor calibration tools to ensure accurate on-screen colour display.
5. Choosing Unsuitable Paper and Finishes: Selecting the Best Material for Your Project
Choosing paper and finishing options impact your print materials' overall appearance, feel, and durability. To prevent unsatisfactory results, consider the following:
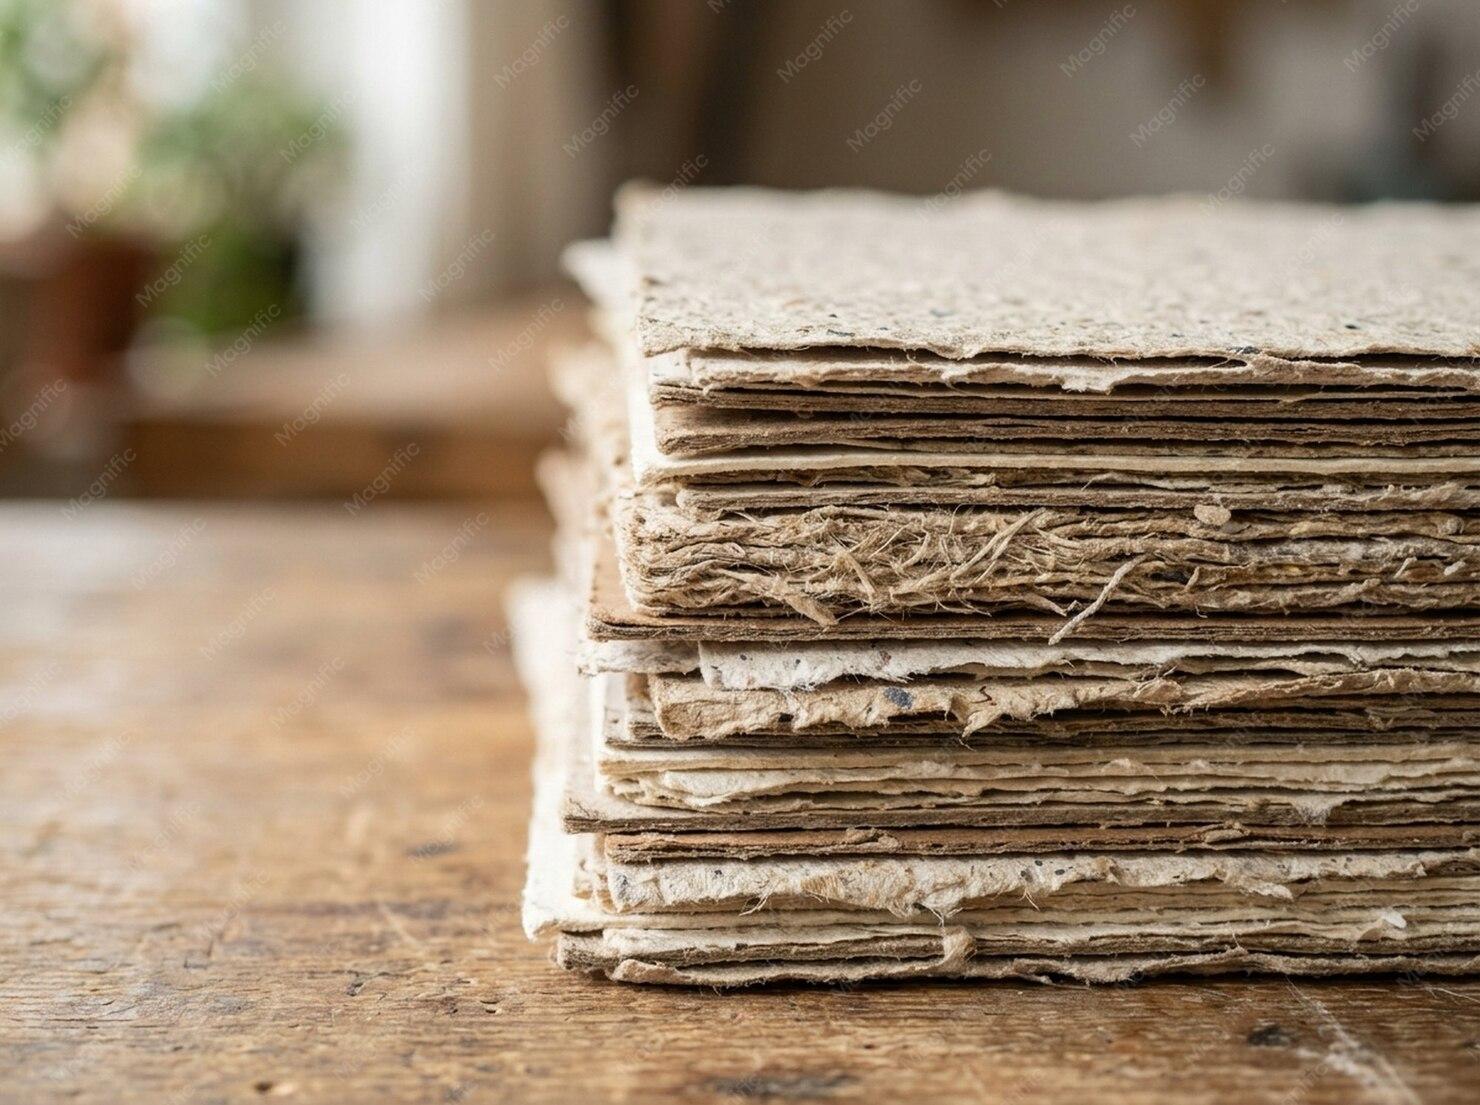
Paper weight: Choose heavier paper stocks for more formal projects like business cards, and lighter paper stocks for brochures or flyers. Paper finishes: Select the appropriate finish—glossy, matte, or uncoated—based on your project's objective and aesthetic preferences. Glossy finishes enhance vibrant colours, while matte finishes offer a refined look. Printing techniques: Consider techniques such as embossing, varnish, and lamination to enrich the tactile experience of your printed materials.
6. Overlooking the Printer's Guidelines: Maximising the Printing Capabilities
Each printing company may have specific requirements or guidelines for optimal output resolution, colour management, and file formats. Ignoring these guidelines can result in a suboptimal final product. To ensure a successful outcome, always check your printer's spec sheet before sending artwork over, and if anything is unclear, ask before you print rather than after – it's always quicker and cheaper to fix a file than to reprint a job.
Avoiding these six common printing mistakes comes down to a bit of preparation: proofread carefully, set your bleed correctly, use high-resolution images, work in CMYK, choose the right paper and finish for the job, and check the guidelines before you send your file over. Get these right and you'll save yourself time, money, and a fair few headaches.
Ready to get this printed?
We produce this in-house here in Dorset. Get in touch and we will help you spec it right before anything goes to print.
Related: Artwork templates · Flyers & leaflets
Make Your Business Online By The Best No—Code & No—Plugin Solution In The Market.
30 Day Money-Back Guarantee
Say goodbye to your low online sales rate!